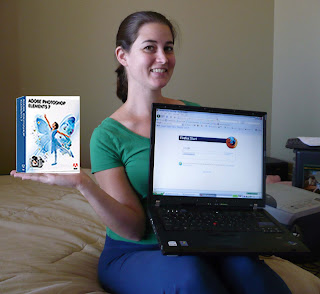
Supplies: computer with internets, and Adobe Photoshop Elements ($79.99 at Costco)
I designed my invitations myself using Adobe Photoshop Elements, which doesn't have all the features of the full Photoshop, but it suits my needs just fine and it's much more affordable. I spent hours browsing free font websites to find what I liked; there's a lot out there, you just have to take the time to look! I also browsed free stock art websites to find graphics I liked for my invitations because I sure as heck couldn't make one myself. [Note: just type "free stock art" into your search engine and a bunch of sites will come up.] I found a ton of really great ones, but ultimately decided on a fairly simple flower graphic. More about that in the next post. Anyway, for those of you who don't want or don't have the time to design your own invites, VistaPrint has some cute ones pre-made, and there are lots of super-talented people on Etsy who will create an invite for you, then sell you the graphic to do with as you please.
An important thing to remember with VistaPrint is that their advertised invitation size is not the real invitation size. For example, their 6x9 invitations actually measure 5.47" x 8.5". So if you're creating a design using Photoshop (or whatever other program), remember to make your canvas size the true size, not the advertised size!
 To find out the actual dimensions of the product you are interested in, from the main menu select "Product Details," then "Artwork Specifications." This will bring up a page listing all the available products; click the one you are interested in and this page will come up: [I realize these are too small to actually do you any good, but I like having pictures in my posts.]
This shows the product's full bleed size, which is the full printing size for your document. This is the size you want to make your canvas when you are creating your invite. The page also shows the product's trim size, which is the size it will be cut down to, and what you will actually receive. So make sure any writing and graphics you don't want to have cut are within the trim size. This page also lists the ideal image resolution, and has a link for you to see which file formats you can upload.
Once you've got your invitation ready it's pretty easy; upload your image and order!
I am by no means a Photoshop expert, so I am not even going to try and explain how I made my invitations. For me, it was a lot of messing around and trial and error until I got the look I wanted. If you're curious, leave me a message, and I will try to explain how to do it, but I would highly recommend asking someone else who is much more Photoshop-savvy :)
Up next: Dry Embossing!
No comments:
Post a Comment